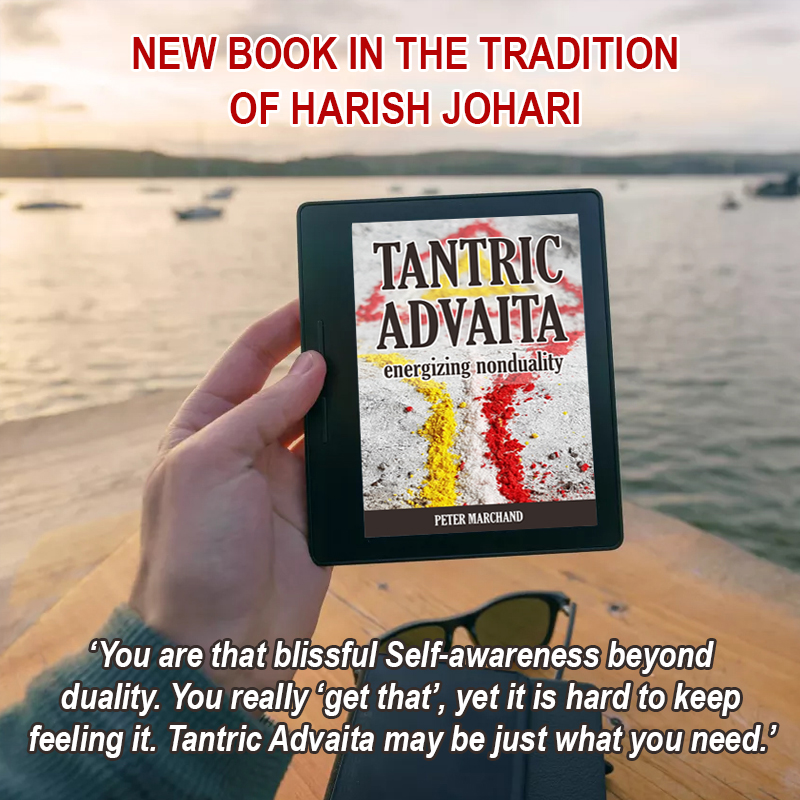
To spread the original, universal and eternal truth, path or law of yoga, which remains forever the same in essence, yet always adapts to the time and place. |
> Indian
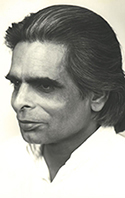
Art Galleries > Harish
Johari Painting Tradition > Wash
Paintings
![]()
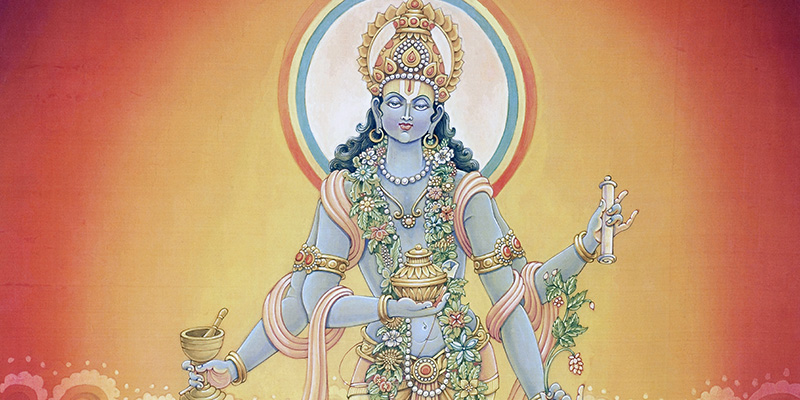
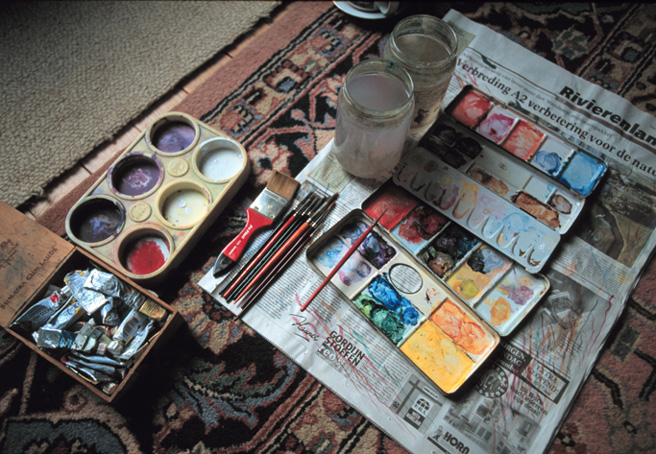
Wash painting is a special technique of painting in which both watercolor and tempera are used to create the desired effect. Watercolors are used in their pure form and opaque white or black are avoided until the last step of the painting (see step 7 below) or are not used at all. The watercolors are applied the same way as in a watercolor painting, but a special technique of fixing colors is used that the painters of pure watercolor do not use.
There are eight steps in creating one painting:
 1.
Lining : Draw or line the entire drawing with dark color lines
and then fill in these outlines with lighter colors. This technique
is useful in coloring any figure or for creating any mood. For instance,
if the trousers should be yellow, then the line drawing of the trousers
is done with orange, which is deeper than the yellow that will be
used to fill in the trousers. If the body of the figure drawn is
going to be brown, the line drawing of the body should be made with
the deeper tone of the burned sienna, which can be darkened by adding
a touch of Prussian blue. If the scroll the figure is carrying has
to be white, the line drawing of the scroll should be done in cobalt
blue.
1.
Lining : Draw or line the entire drawing with dark color lines
and then fill in these outlines with lighter colors. This technique
is useful in coloring any figure or for creating any mood. For instance,
if the trousers should be yellow, then the line drawing of the trousers
is done with orange, which is deeper than the yellow that will be
used to fill in the trousers. If the body of the figure drawn is
going to be brown, the line drawing of the body should be made with
the deeper tone of the burned sienna, which can be darkened by adding
a touch of Prussian blue. If the scroll the figure is carrying has
to be white, the line drawing of the scroll should be done in cobalt
blue.
In the face, the eyebrows and eyes should be lined by Prussian blue. In lining the lips, one should use carmine in the upper lip and vermilion for the lower lip. The nose and ears should be lined with the dark tone of the color used in the face. If the hair is supposed to be golden, the line drawing of the hair should be done in the yellow ochre. If the hair supposed to be black, the lining should be done in Prussian blue.
2. Fixing the Lining : Before filling in the colors, the line drawing should be fixed by pouring water over the painted surface. Whenever colors are applied to art paper or silk canvas, they are partly absorbed by the paper or silk. In the fixing process, the extra color that does not penetrate the canvas or paper is washed off. The painted paper or silk is either floated in a tray full of water or it is placed on a wooden board and then water is poured on the board in such a way that water does not fall directly on the painting but floats over the painting and rinses off the extra color. When clear water starts running from the board then the pouring of the water is stopped. Then the painting is allowed to dry on the board. A brush should not be used to remove the overflowing colors. The colors should flow out from the painting only by pouring the water. The fixing process is repeated each time color is applied to the painting. If the painting happens to be made on silk, one should use water in which a few soap-nuts have been boiled for the fixing. Soap-nuts also should be added to the water used to dissolve or thin the colors used in painting. A silk canvas should be gently stretched on the drawing board on which the fixing is done so that there are no wrinkles or bubbles.
3. Filling the colors : After the canvas is completely dry, all the figures and forms that have been drawn should be filled in with color. Every color should be used in three tones: highlight, middle tone, and depth. The color of the middle tone should be selected first, and then water is added to this color to make the highlight color. The color for depth is obtained by mixing a darker tone to the color of the middle tone. The color chosen for the middle tone will be the visible color of the drawing.
4. Fixing the colors : The colors used to fill in the painting should be fixed by the same process that was used for fixing the line drawing.
5. Background : Then color should be applied to the background. The corners of the painting should be a darker tone of the color used for the background.
6. Fixing the background : After the background is colored, the painting should be fixed again to stabilize the background color.
 7.
Wash Stage : Now comes the wash part of the painting. The artist
should think about the mood that the painting represents and what
colors will best present the environment the artist wishes to create---the
effect of day, night, or any desired time and the effect of the
season.
7.
Wash Stage : Now comes the wash part of the painting. The artist
should think about the mood that the painting represents and what
colors will best present the environment the artist wishes to create---the
effect of day, night, or any desired time and the effect of the
season.
The colors used for giving a wash are not water colors; they are tempera and are opaque. The use of white is quite liberal during the wash phase, whereas white is avoided prior to this point. Three tones of each wash color should be made, as in step 3: highlight, middle tone, and depth. The artist may use as many colors as he or she likes to wash the painting.
After the wash colors have been prepared, the painting should be made wet with water. Because the colors have already been fixed, no color will come out of the painting. Any excess water should be allowed to drip off the painting before the wash is applied.
The wash should not be too thick or too thin. It should be between the consistency of thin honey and boiled milk. When the wash is applied, the entire painting should appear as if it is behind colored fog or clouds. The corners should contain the darkest area of the wash color.
Before the wash step is completed, the artist should take a dry brush and remove the wash color from the face, hands, and feet of any figures in the painting. The wash color must still be wet when the color from the face, hands, and feet is removed. Once the paint starts to dry it is too late for this step. The painting should be left in a position so that any extra wash may flow off while the painting is drying.
8. Fixing the Wash colors : After the painting is completely dry, the wash color needs to be fixed. As in step 2, water is poured over the entire painted surface and any extra color rinses off.
More Washes
If the desired effect for the final painting comes in one wash, there is no need to repeat this step, and the finishing of the painting can then proceed. If the colors are not the proper tones, shade, consistency, or if they have washed off from certain areas, then the artist should start all eight steps over again. The artist should approach the work as if it is the first time he or she is working on the painting.
The artist should:
1) Do the lining of the drawing with the same colors as before.
2) Fix the line drawing.
3) Fill in the colors.
4) Fix the colors of the painted figures.
5) Color the background.
6) Fix the colors of the background.
7) Give a wash with one color, or as many colors as the artist thinks are needed, and remove the wash color from the face, hands, and feet of the figures before the colors dry.
8) Fix the colors applied in the wash.
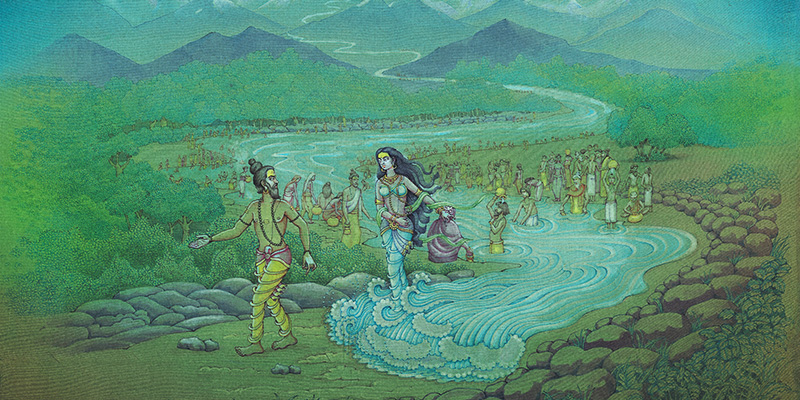
One can feel the difference in the appearance of a painting after it has received two washes, and the wash process can be repeated if a stronger wash effect is desired. Some of the paintings in The Birth of the Ganga received more than four washes, and most of them received at least four washes.
Now the painting is ready for finishing.
The beauty of Indian art lies in its delicate line work. In Western art colors and tones define the division of space but that is not the case in these wash paintings. In finishing wash paintings we repeat the lining of the face, fingers, toes, dresses, and ornaments with the depth color. The face is finished by applying color to the lining of the eyebrows, eyelids, eyes, nose, lips, ears, and chin. The upper lip is always made darker than the lower lip. In areas where greater depth is needed, such as near all joints and folds, additional depth lines are added.
The painting will now start reappearing from within the clouds of wash. To maintain the effect of the wash, the figures and everything else drawn on the painting should fade and merge with the background near the extremities of the painting.
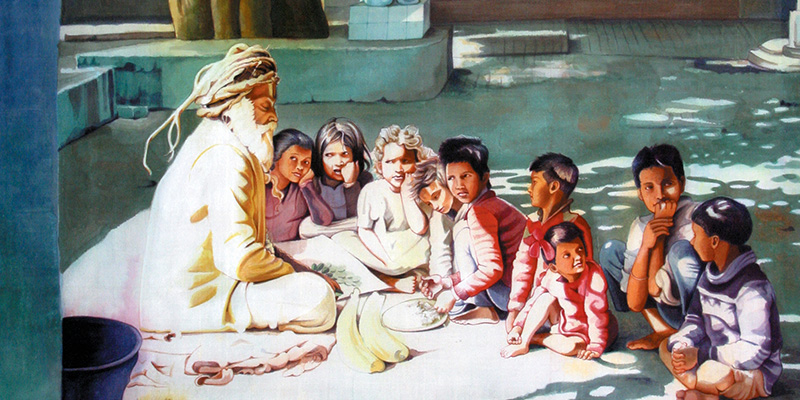
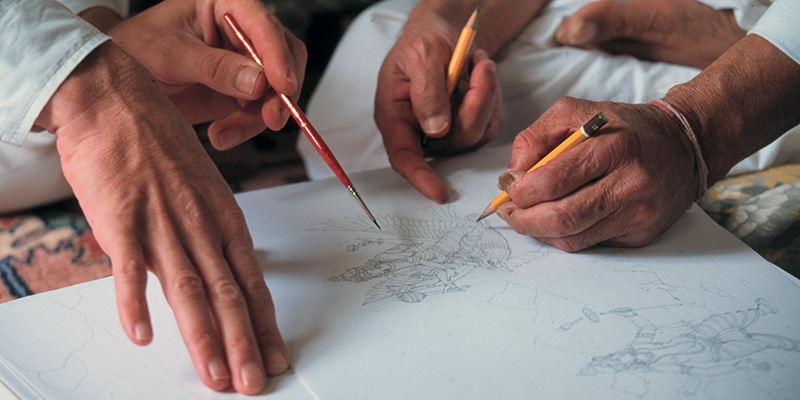
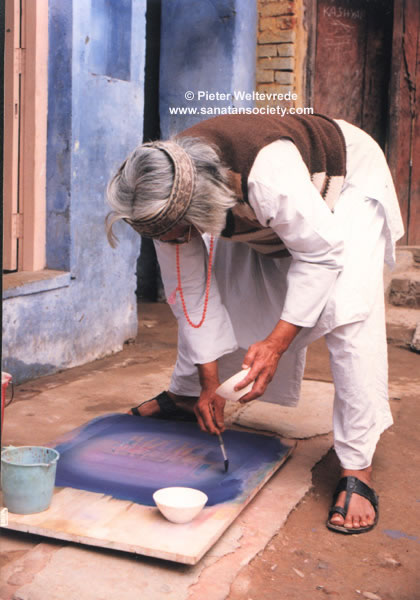
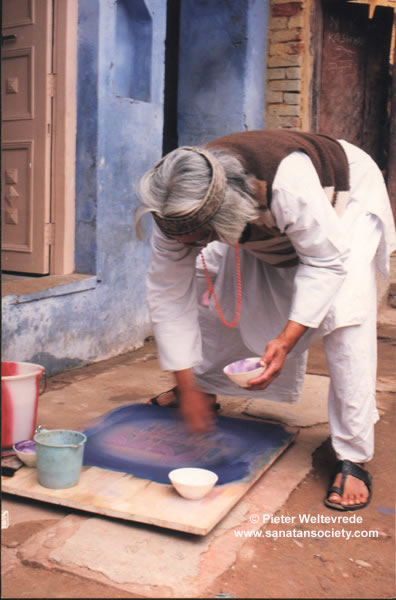
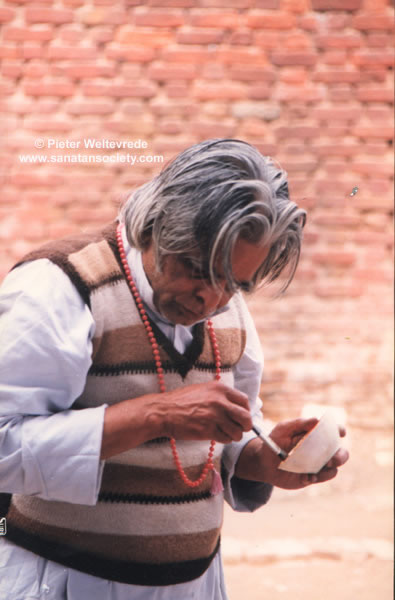
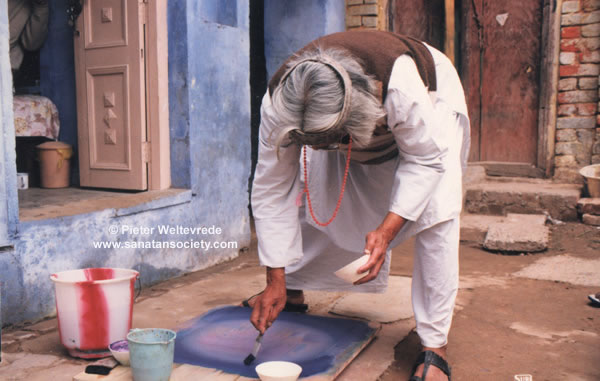
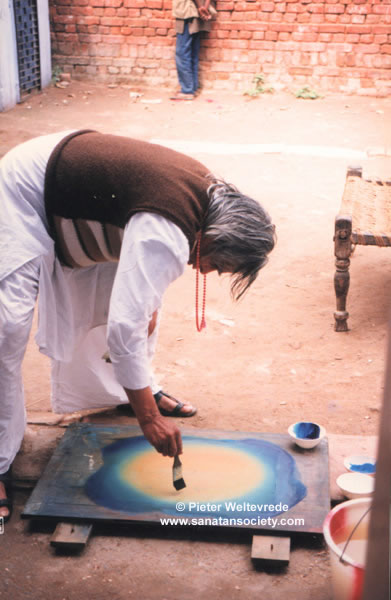
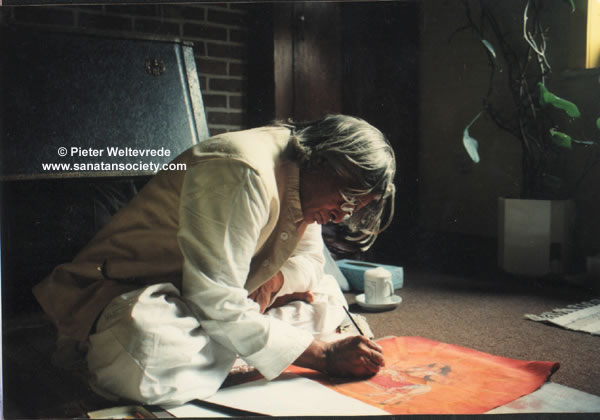
Some images provided by Pieter Weltevrede showing Harish Johari giving washes :
|
|
|

|
|
|
 |
 Sanatan Society is an international networking association of students of the late Harish Johari, joining efforts to promote his teachings of yoga philosophy, tantra, worship, art and love. Sanatan Society stands
for the original, universal and eternal truth, path or law of yoga.
Though it is Hindu in origin, Sanatan Society is not limited to any religion,
race, time or country, nor in fact to any particular organisation. More about Sanatan Society...
Sanatan Society is an international networking association of students of the late Harish Johari, joining efforts to promote his teachings of yoga philosophy, tantra, worship, art and love. Sanatan Society stands
for the original, universal and eternal truth, path or law of yoga.
Though it is Hindu in origin, Sanatan Society is not limited to any religion,
race, time or country, nor in fact to any particular organisation. More about Sanatan Society...